Future Imperfect Theme Release on the Go Hugo Static Website Engine
Check out this new theme on Hugo tailored for blogging
Hello everyone, I am excited to announce the release of a new theme available on the static website engine, Hugo . This is my first theme I have ever created so be gentle. The theme, Hugo Future Imperfect , is available on the theme showcase section of the Hugo website. The theme’s name is also no coincidence. It happens to be a port of a theme available on HTML5 UP . Let’s go over what this theme can do for you.
Before we go into detail of this theme, you may be wondering what exactly is Hugo. I won’t go into specifics, but here is a brief explanation directly from their website:
Hugo is a general-purpose website framework. Technically speaking, Hugo is a static site generator. Unlike other systems which dynamically build a page every time a visitor requests one, Hugo does the building when you create your content. Since websites are viewed far more often than they are edited, Hugo is optimized for website viewing while providing a great writing experience.
Feel free to check out the Hugo website for more information.
Getting the Theme
Utilizing themes in Hugo is straightforward. In fact, you can interchangeably switch from one theme to the next. This kind of flexibility is awesome in my opinion. However, please note that some themes do require some extra parameters in the config file. This theme happens to fall under that category, but I promise that it’s used in a way so that the layout files do not have any hardcoded information.
Open the command line and traverse into the Hugo site directory you currently have or create a new one by running the following command:
hugo new site mySite && cd mySite
Next, we’ll create our themes directory in our Hugo site:
mkdir themes && cd themes
Now let’s retrieve the theme by running the following command:
git clone https://github.com/jpescador/hugo-future-imperfect.git
Using the Config File
There will be a directory in this theme called exampleSite. The structure of the folder will look something this:
exampleSite
├── config.toml
├── content
    └── blog
    │   ├── creating-a-new-theme.md
    │   ├── goisforlovers.md
    │   ├── hugoisforlovers.md
    │   └── migrate-from-jekyll.md
    └── about.md
...
I recommend using this as a reference to effectively use the features this theme offers. Copy the config toml file from the exampleSite directory to the root directory of your Hugo site. Here you’ll be able to set parameters such as Google Analytics, Disqus, the general meta tag description for the site, navigation bar title, menu items, the reading time, and intro information on the sidebar.
The config file contains comments on how to use each section. Each section also contains comments on what is required or optional.
Shortcodes
Finally, you’ll be able to use some custom shortcodes I’ve created. There are currently three which are img-post, img-fit, and url-link. Let’s briefly go over what each one does.
img-post
This will allow you to place an image which can be placed in the center, to the left, or to the right of the page. The commands are shown below and is available using named or positional parameters:
- Named
{{< img-post path="date" file="filename.jpg" alt="Alt Text" type="left" >}}

- Positional
{{< img-post "title" "filename.jpg" "Alt Text" "left" >}}
Check out the img-post shortcode file for more information on the parameters.
img-fit
This shortcode allows you to insert multiple images with the ability to create a gallery if needed. An example of the command is shown below and is positional only:
{{< img-fit
    "4u" "pic01.jpg" "Alt text"
    "4u" "pic02.jpg" "Alt text"
    "4u$" "pic03.jpg" "Alt text"
    "path/to/files" >}}
You can also use the same shortcode for one image that will fill the width of the content area:
{{< img-fit
    "12u$" "pic01.jpg" "Alt text"
    "path/to/file" >}}
Please refer to the img-fit shortcode file for more information on the parameters.
Please note that you also have two additional options rather than just setting an explicit path for the mentioned shortcodes, img-post and img-fit.
- You can use the values
dateortitlewhich will use the following paths:- title: will use /img/LinkTitle as the path
- date: will use /img/year/month as the path
url-link
Finally, with this shortcode a hyperlink is created and a target value is added to the link. _blank will be used by default if a target value is not set. This is positional only.
{{< url-link "Hugo" "http://gohugo.io/" >}}
Position 0 will set the link text, 1 will set the url, and the last position will be the value of the target attribute.
Viewing the theme
Run the following command in the root of your Hugo site once you have everything set up:
hugo server --theme=hugo-future-imperfect
Please note that you can omit the theme option from the command if the theme is already set in the config file.
You’ll then be able to view the results on the following link, localhost:1313 . Here is what the theme looks like when using the content from exampleSite:
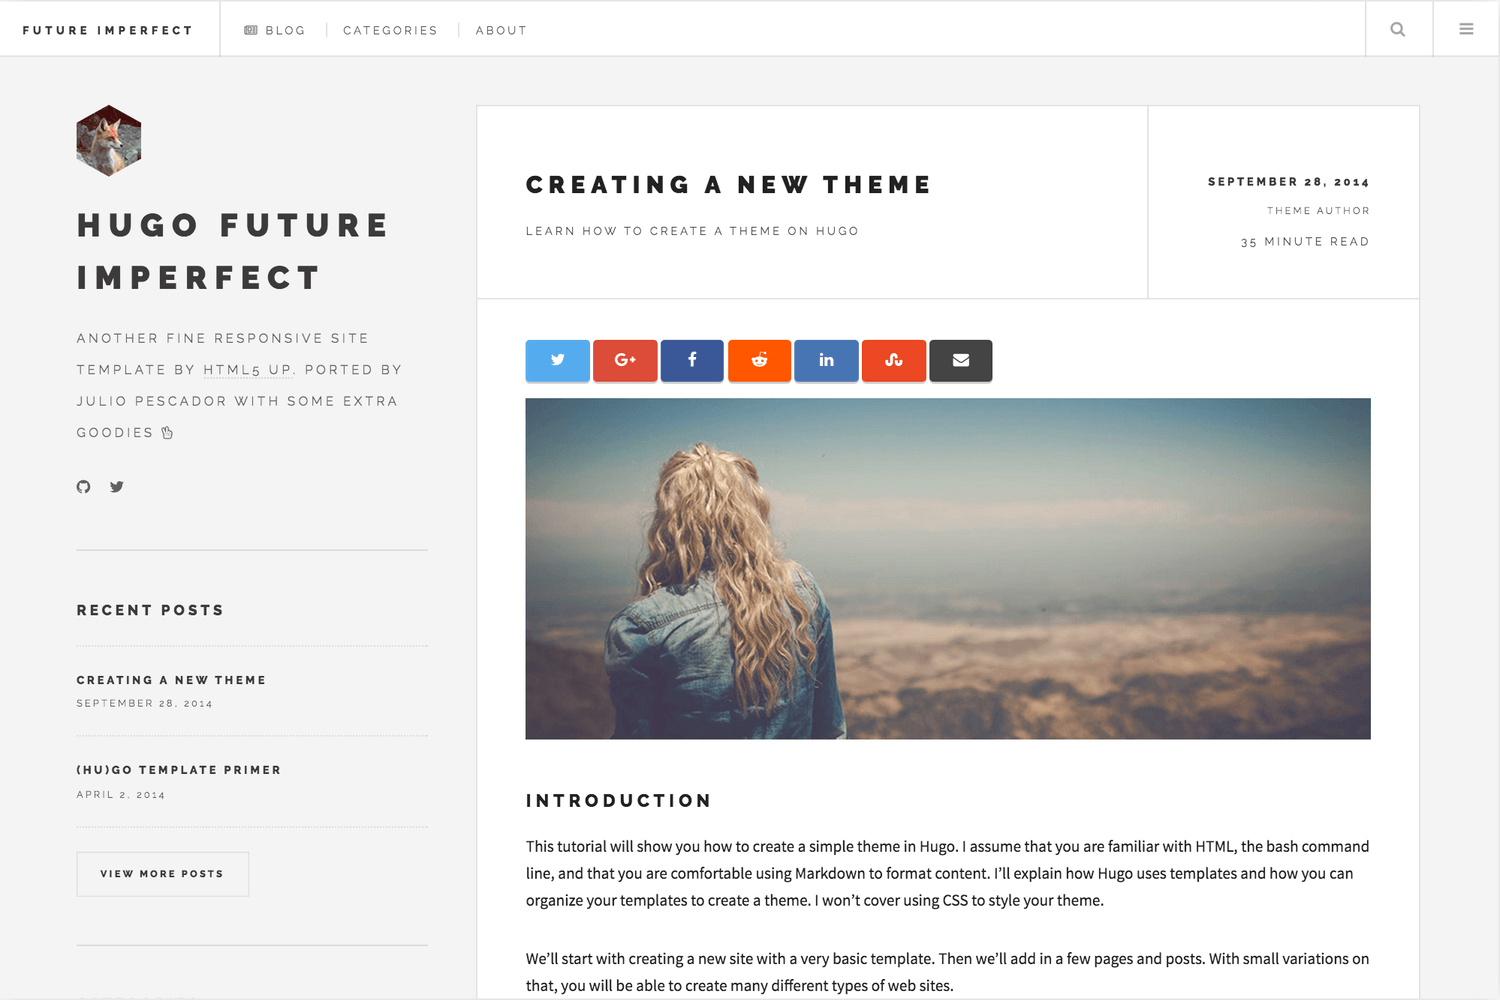
Feel free to check out the source available on GitHub and refer to the README for any updates. Send me a tweet if you enjoy the theme and thanks for reading!

Share this post
Twitter
Google+
Facebook
Reddit
LinkedIn
StumbleUpon
Email